
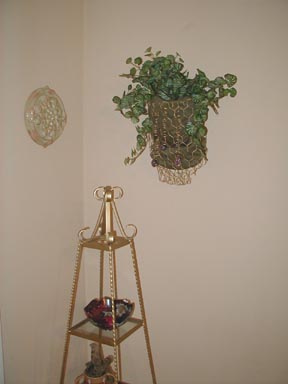
Easy Wallpockets!
Materials:
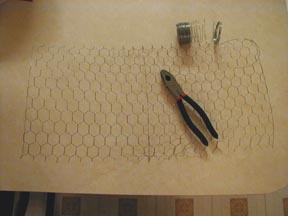
- 12" x 24" section of 1" hole chicken/poultry wire fencing (at home improvement centers)
- 1 can metallic or choice of spray paint
- Heavy duty pliers/snips
- 16 or 18 gauge craft wire (optional)
- Large beads or charms for decoration (optional)
- 1 yd fabric of choice
- silk floral vine or stems
- small block of styrofoam
- gloves to protect hands when bending chicken wire
Steps:
- First, using gloved hands and plier/snips, bend the chicken wire into a cylinder shape. Use the pliers to bend the bottom so that the shape will keep.
- Use gloved hands to further "sculpt" into the wallpocket shape that you want. Secure the back and bottom by bending the end pieces over each other. Use pliers to curl the top end pieces under.
- Once you have the shape that you want, spray with paint outdoors and let dry. We used metallic gold Rustoleum. You will need several coats in different directions to evenly coat all grooves and surfaces.
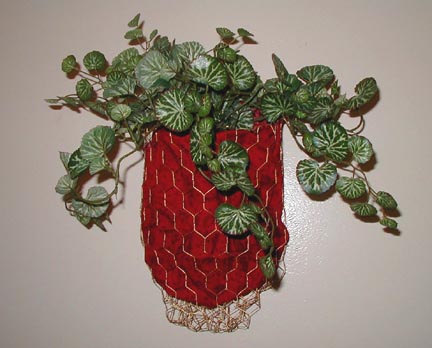
- After wallpocket dries, line with fabric (printed side facing out.
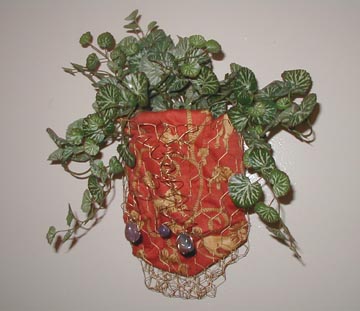
- You can also use the 16 gauge wire to create spirals by twirling around your finger or a taper candle, removing, shaping and attaching large bead or other decoration to one end. Attach to the wallpocket with the other ends. We used 3 spirals in one of the wallpockets above.
- Insert the bush, vine or floral stems into the styrofoam and place in wallpocket inside of fabric.
- Use the holes of the chicken wire design to hang.
- Enjoy!
Variations:
You can customize this project in numerous ways by using shredded raffia, spraying the wallpocket a bright red and inserting faux farm eggs or vegetables for a folk-art look. It also looks great with seashells, soaps or handtowels in a bath area. You can also form hooks at the bottom to hold keys and use the fabric-lined wallpocket to hide notepads, coupons, bills and whatnots. The possibilities are endless! Let us know your variations and we'll add them to the list!